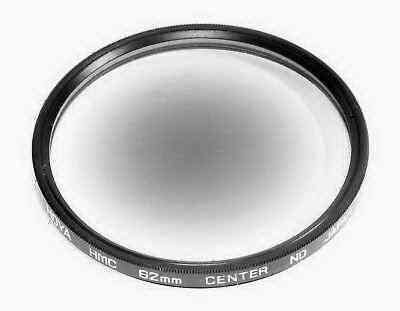
"How do I USE central neutral density filters?"
If you are lucky, when you buy a CND filter, it will come with some instructions. Chances are it won't. But it either case, it's best to run a few simple tests to determine how your CND filter(s) functions with your lens(es) and film format(s). You might be surprised.
Do not try to judge the light fall-off by simply looking at the groundglass. You can look at the processed image -- with or without a loupe -- on an evenly illuminated light table, or just make a print on normal contrast paper with your enlarging lens stopped down at least two f-stops.
It's up to you to decide how much light fall off you find acceptable. If you see very little light fall-off, or the amount is acceptable to your taste, you don't need to use a CND filter -- for that lens.
You may notice that the light fall-off diminishes as you stop down. This may be a dramatic change, or very little difference at all. Again, if you can achieve acceptable light fall-off by stopping down the aperture, just remember to always use the lens stopped down -- and you won't need to use a CND filter for that lens.
But if the amount of light fall-off is too great, even after stopping down, you should consider using a CND filter -- but use the correct CND filter!
Simply place your CND filter on the lens, adjust the exposure for the density of the CND filter -- using exposure time or illumination, but NOT f-stops -- and re-run the exposure test above, starting at full aperture. If you have the correct CND filter for the lens, the resulting image/print should be evenly illuminated -- especially when stopped down. If your corners are under-exposed (too light on the negative and/or too dark on the print) you will need to use a stronger CND filter, while if your corners are over-exposed (too dark on the negative and/or too light on the print), you need a weaker one. Keep in mind that your results will likely vary depending on the f-stop that was used -- and the lens you are testing. So keep good notes!!!
DO NOT BE SURPRISED if:
#1: A lens that you thought would need a CND filter does NOT, or
#2: A lens that you thought did NOT need a CND filter, DOES!
There are many possible reasons for this, and that is why it is important
to run tests with your own gear, film, processing, etc.
Another very important issue is mechanical vignetting. Since you will
be using a CND filter on a wide-angle lens, make sure that the corners of
the image are not cut off by the filter 's rim. You can determine this
by viewing the corners of the image -- WHILE STOPPED DOWN ALL THE WAY
-- without, and with the filter in place. Some CND filter diameters
are pretty small -- AKA 49mm -- and can quickly result in filter vignetting
-- especially if additional filters are used at the same time. You
may need to move to a larger CND filter size, or reduce the number of filters
in use.
COPYRIGHT@1995-2019 by Joe McGloin.
All Rights Reserved.
The material on this website is protected by US Federal copyright laws and
cannot be copied or used in any manner without specific approval from the
owner.